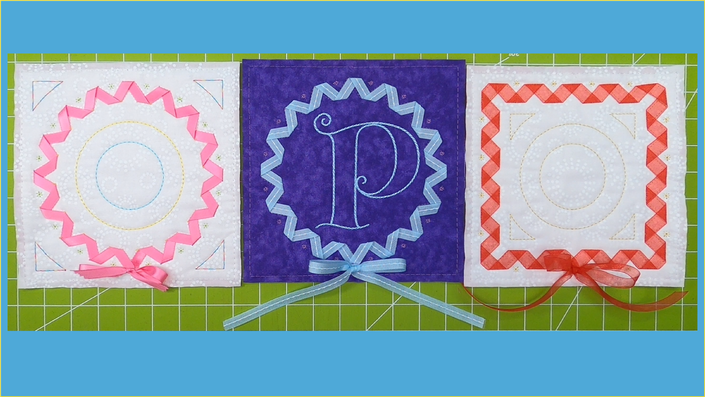
This month, we will make Tool Tags using the Die die-cut method. You’ll learn how to use the embroidery design to create the die-cut shapes. This technique is helpful if you don’t have a die or digital cutter. This technique can be applied to most “Trim in the Hoop” designs. The method we’ll use to make the Tool Tags is Freestanding Applique. The Tool Tag has two sizes; the 1 ½” size is perfect for scissors and small tools. The 2 ½” size is great for keeping track of larger items or using it as a luggage tag.
The 2 ½” size is also perfect for a patch – a Tool Tag is just a patch with a back!
Techniques this month: Die Cut Applique without a die cutter, Freestanding Applique, and patches
Included with the course:
Step-by-Step Video Supplement
Downloadable content included:
Project Sheet with Design info, supply, svg files, Printable PDF Pattern, and materials list,
Full-Color PDF step-by-step Project Instructions
8 Embroidery Designs: for hoops 4 x 4 and larger
Formats: jef, pes, exp, and vp3.

Hi I'm PJ
Since 2006 I’ve been a teacher at Montavilla Sewing Centers in the Portland Metro area. I design, produce and teach the monthly projects for Babylock Serger Club, Janome, BabyLock and Brother Machine Embroidery Club, and 8” Block of the month Club.
I have a lot of fun creating projects, designs, and patterns that incorporate techniques and products to encourage the students to get the most out of their Sergers or Embroidery Machines.

Front

Back
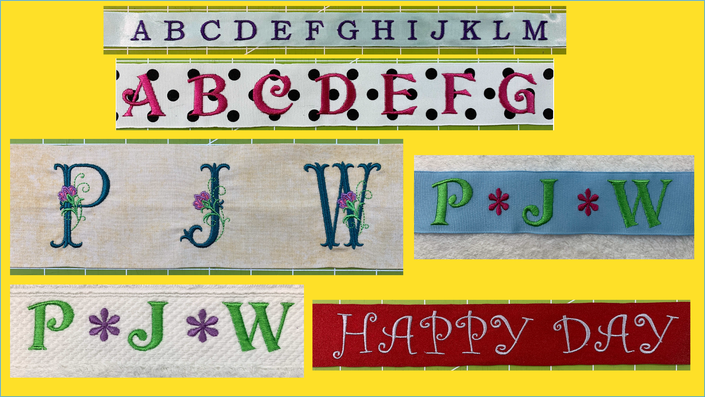
1 1/2" and 2 1/2" sizes with four motifs

Curriculum
Featured Products
Check out these other Projects!